Showing posts with label easy. Show all posts

Friday, February 24, 2017

Easy Minky and Flannel Blanket Tutorial

If you need a quick shower gift or something special for a new baby, you can't go wrong with a soft, cuddly blanket. There's nothing softer than minky fabric and flannel is the perfect compliment. Minky fabric can be expensive, but if you make the blankets 30 x 36 inches, you can get two from 1 1/8 yards. 

To make this blanket you will need:
1 1/8 yards minky fabric 
1 1/8 yards flannel
Thread
Basic sewing supplies

It's always a good idea to wash and dry both your fabrics. They will shrink at different rates and washing ensures that your blanket will keep its shape.

Begin by cutting the selvages off the minky and the flannel. Use a rotary cutter if you have one, but you can also use scissors. 


Cut the minky piece in half down the fold. Most minky is at least 60 inches wide, so that will give you two 30 inch wide pieces. Set one piece aside and cut the length of the other piece to 37 inches to allow for a half inch seam. You will now have a piece of minky that's 30 (or so) inches wide x 37 inches long.


You can cut the flannel to match the dimensions of the minky fabric with the rotary cutter and mat, or you can open the flannel on a flat surface, lay the minky fabric on top and trim the edges to match.


With the fabrics right side together, pin every 3 or 4 inches around the entire edge. Minky is slippery so you won't want to skip this step! 
Using a half inch seam, sew around the edges, leaving an opening of 5 inches or so on one edge for turning. 

Lightly trim the four corners. 
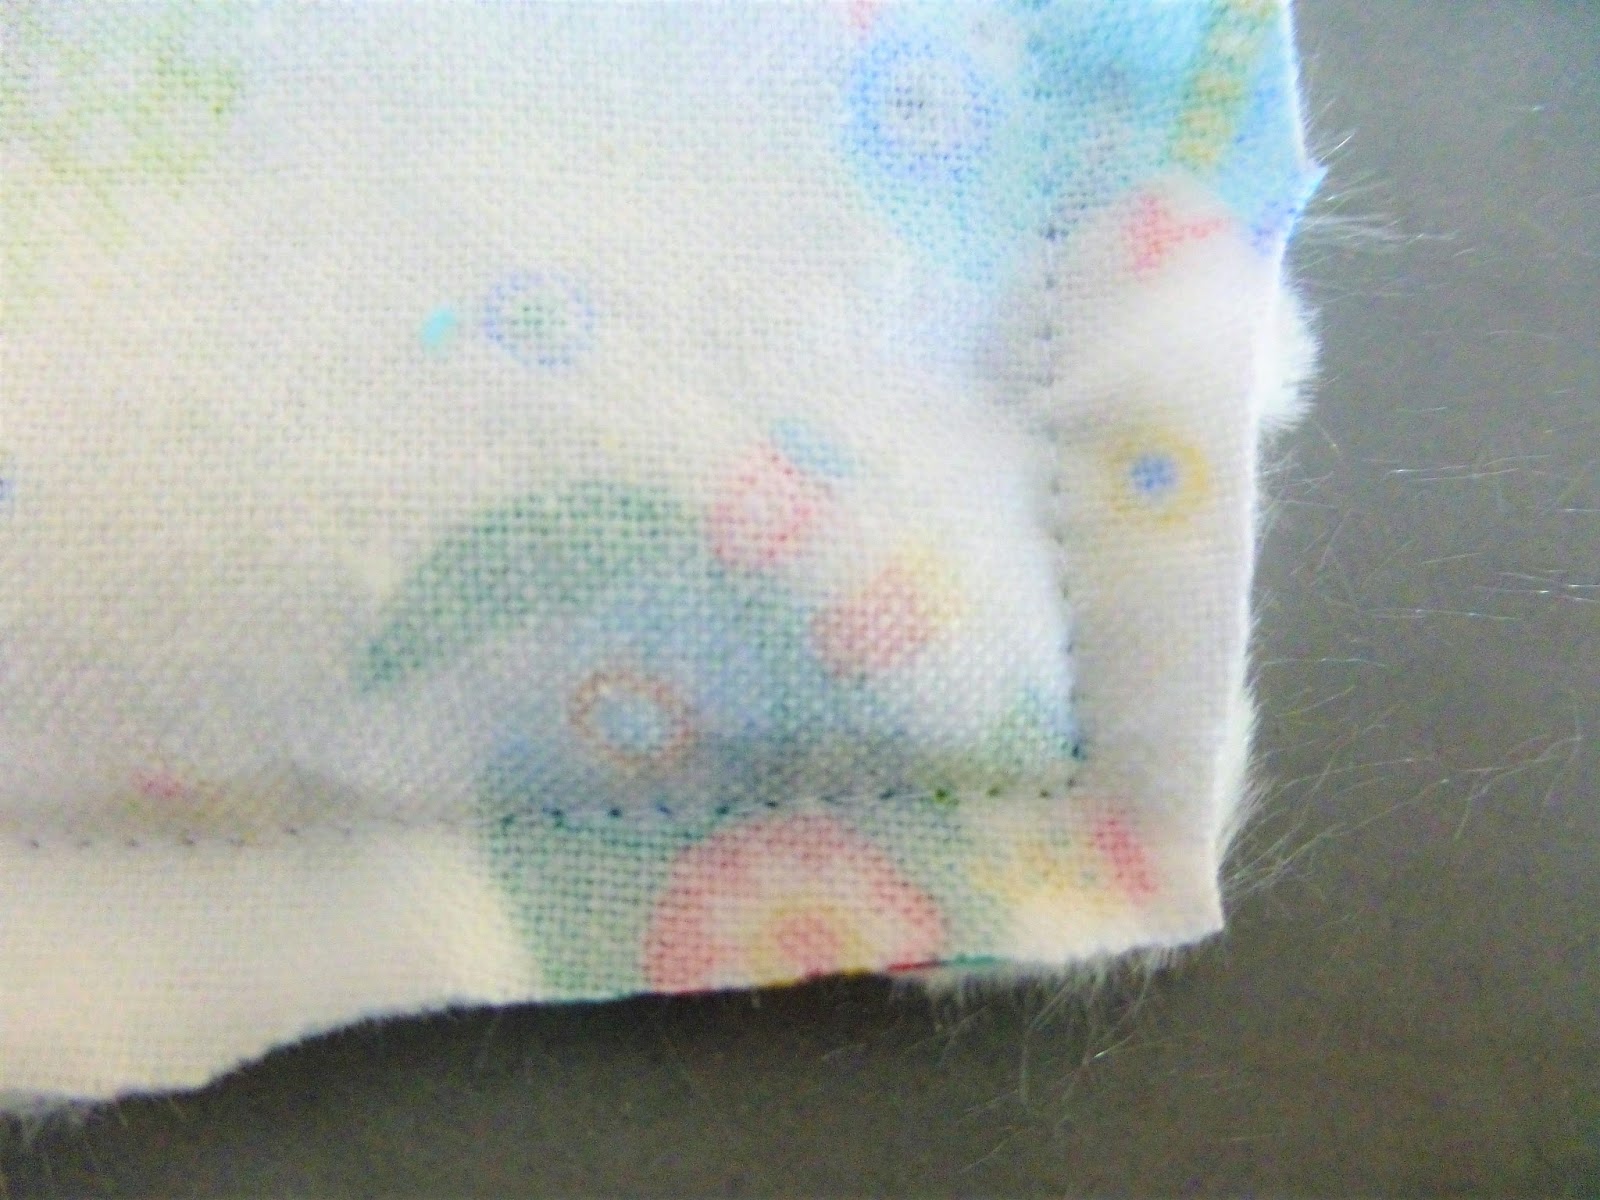
Reach inside an turn the blanket right side out. 
Push the corners out with your fingers.
Carefully press the edges. Whatever you do, do not press the minky side. Note: You may want to skip this step if you're using the dimple dot minky. 
Whip stitch the opening closed.
If you have any edges tucked in the seam, you can pull them out carefully with a seam ripper.
Sew around the blanket 3 inches from the edges all around. (I make a mark with tape on my sewing machine as a guide.)
Sew on the diagonal from each corner to the stitching line you just made. 

That's all there is to it! Wrap it up or tie it with a bow and you're set. These blankets are so easy you will want to make a few to have on hand.


Monday, February 6, 2017

Sweet Heart Valentine Centerpiece

With Valentine's Day just around the corner, I decided to share a quick project that didn't involve one stitch of sewing. It was easy and fun and makes a darling Valentine decoration.


You will need: 

  • Vase of your choice
  • Clear glass marbles or other vase filler
  • Scrapbook paper
  • Thin wire
  • Heart paper punch (mine is 1 7/16", but other sizes will do)
  • Ribbon for the vase, if desired
  • Branches (I bought mine at Hobby Lobby)
The process is so easy that it really doesn't need much explanation. The first thing you're going to do is to punch out a bunch of hearts. I found my cute paper at Hobby Lobby and used a 40% off coupon, but any color would work and it would be a great use of any scrap paper you might already have. The pad I used is 6"x 6" and there was plenty of paper for all the hearts I needed.


After the hearts are punched, take two different patterns to make a pair. Using double-sided tape, sandwich a wire between the two hearts to stick them together. Thinner wire is easier to wrap around the branches.


All that's left is to wrap the hearts around the branches to your heart's content and arrange them in a vase. Add a cute bow if you want and enjoy your sweet heart centerpiece!

A Little Mermaid

Who isn't enchanted by a mermaid? With this quick and easy pattern, you can make a mermaid for every little one in your life who wants to be one.  


I used this pattern by Bit of Whimsy: 

Pattern Here

The instructions suggested that the yarn pig tails are sewn into the seam. I got better results by adding them after the doll was finished and stuffed. I wrapped the yarn around my fingers until it was as full as I wanted and then stitched securely to both sides of the head by hand. 

The mermaids are only 12" so it's a great project to use some of the scraps we all have stashed in boxes and crates, cupboards and drawers. These little mermaids can't go in the water, but I know my sweet granddaughters sleep with their mermaids almost every night.

Monday, January 23, 2017

Fun, Flouncy Apron

There are so many cute apron patterns out there, but this is one of my personal favorites. I've made it several times because it makes a darling shower or birthday gift for a friend.

https://kwiksew.mccall.com/k3787

It's quick and easy to sew. The pattern also includes children's and 18" doll sizing. I don't really have any tips or tricks because the instructions are simple to follow. And just like it's almost impossible to stop after eating one chocolate chip cookie, once you've made this apron, you'll want to make more! 


P.S. You've probably noticed that Kwik Sew patterns are expensive at the fabric stores and some don't always carry the full line. However, they are often on sale on the Kwik Sew website, which makes them pretty affordable. 

My sincere apologies for the blurry picture. I'm way better at sewing than photography!