Showing posts with label baby. Show all posts

Friday, February 24, 2017

Easy Minky and Flannel Blanket Tutorial

If you need a quick shower gift or something special for a new baby, you can't go wrong with a soft, cuddly blanket. There's nothing softer than minky fabric and flannel is the perfect compliment. Minky fabric can be expensive, but if you make the blankets 30 x 36 inches, you can get two from 1 1/8 yards. 

To make this blanket you will need:
1 1/8 yards minky fabric 
1 1/8 yards flannel
Thread
Basic sewing supplies

It's always a good idea to wash and dry both your fabrics. They will shrink at different rates and washing ensures that your blanket will keep its shape.

Begin by cutting the selvages off the minky and the flannel. Use a rotary cutter if you have one, but you can also use scissors. 


Cut the minky piece in half down the fold. Most minky is at least 60 inches wide, so that will give you two 30 inch wide pieces. Set one piece aside and cut the length of the other piece to 37 inches to allow for a half inch seam. You will now have a piece of minky that's 30 (or so) inches wide x 37 inches long.


You can cut the flannel to match the dimensions of the minky fabric with the rotary cutter and mat, or you can open the flannel on a flat surface, lay the minky fabric on top and trim the edges to match.


With the fabrics right side together, pin every 3 or 4 inches around the entire edge. Minky is slippery so you won't want to skip this step! 
Using a half inch seam, sew around the edges, leaving an opening of 5 inches or so on one edge for turning. 

Lightly trim the four corners. 
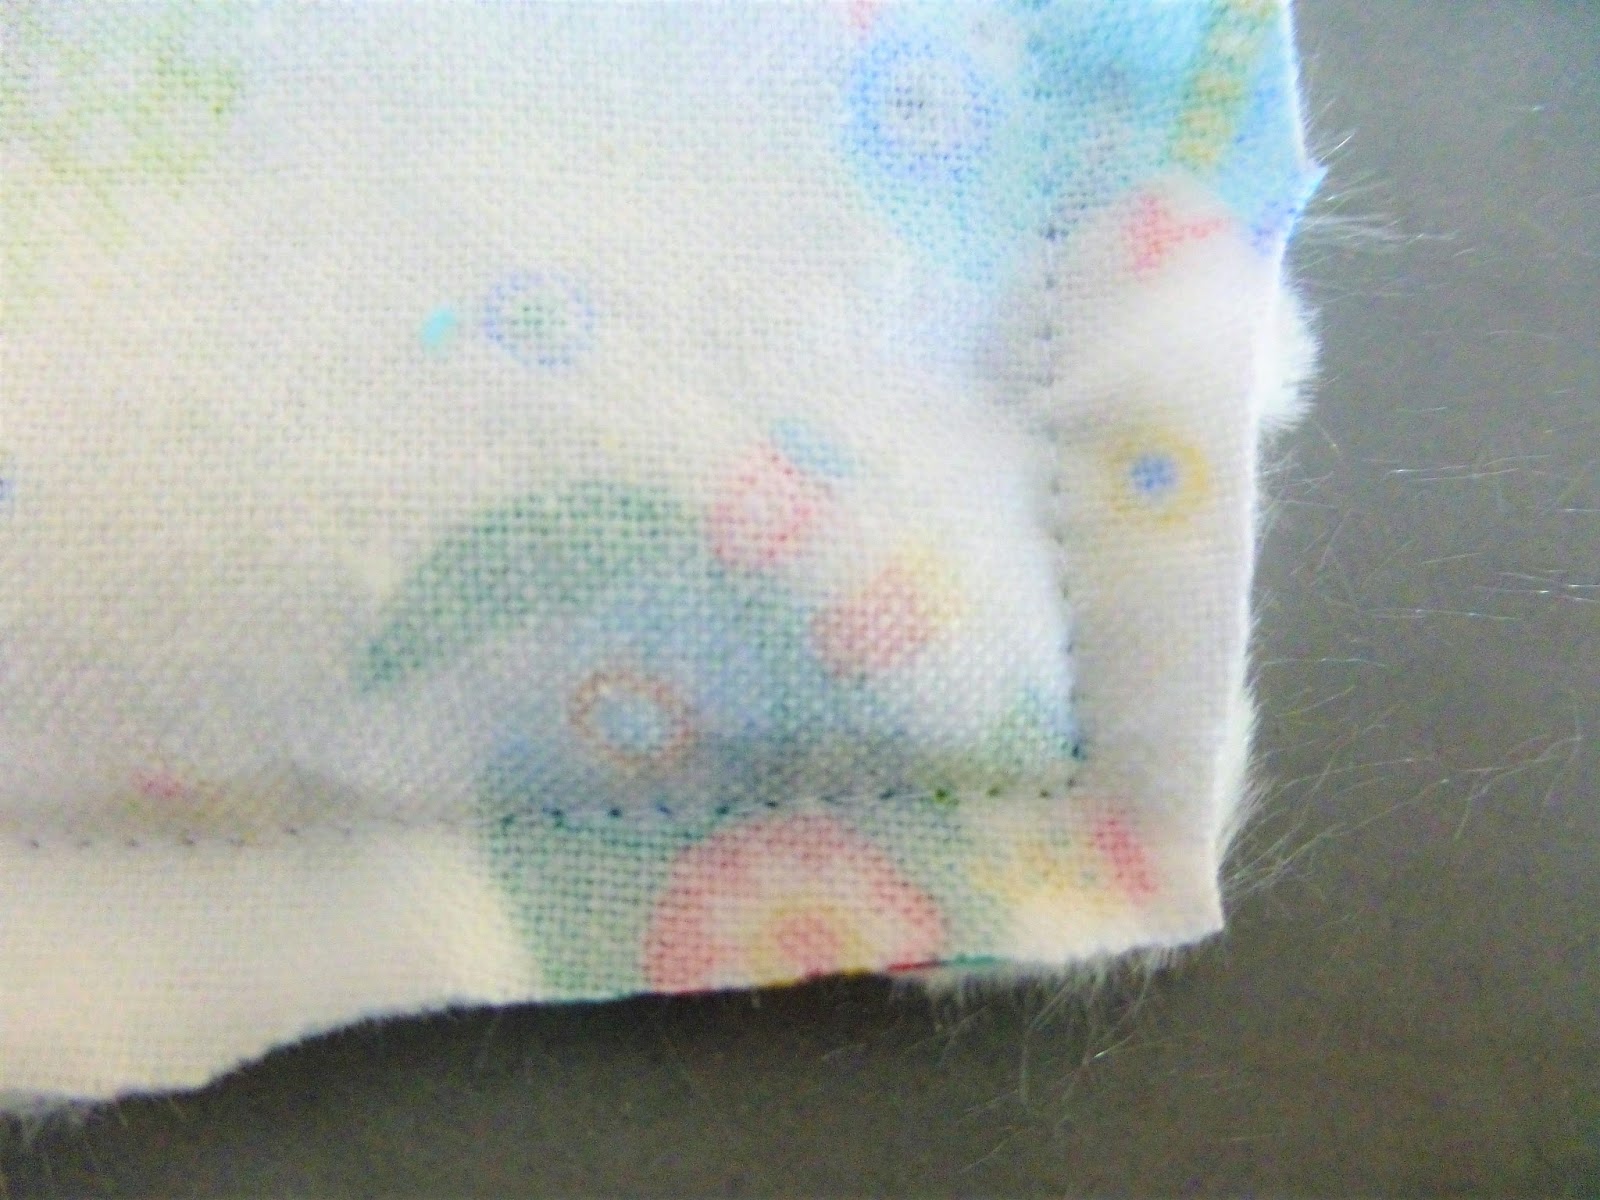
Reach inside an turn the blanket right side out. 
Push the corners out with your fingers.
Carefully press the edges. Whatever you do, do not press the minky side. Note: You may want to skip this step if you're using the dimple dot minky. 
Whip stitch the opening closed.
If you have any edges tucked in the seam, you can pull them out carefully with a seam ripper.
Sew around the blanket 3 inches from the edges all around. (I make a mark with tape on my sewing machine as a guide.)
Sew on the diagonal from each corner to the stitching line you just made. 

That's all there is to it! Wrap it up or tie it with a bow and you're set. These blankets are so easy you will want to make a few to have on hand.


Wednesday, January 25, 2017

Darling Baby Bobble Blanket

I know this is a sewing blog, but occasionally I do something besides sew. I was looking for a crocheted baby blanket for a grandson who would be arriving and I loved this blanket the minute I saw it. What makes it even better is that it's a free pattern. 


I made it to match his nursery, so I selected Bernat Baby Blanket yarn in white for the main and a light gray Bernat Blanket yarn for the trim. I bought the yarn at Jo-Ann's and waited for it to go on sale to save a little money.


For the life of me I couldn't make a chain of 89 stitches as directed on the pattern come out right no matter how many times I tried. I'm not a pro at crochet, so I’m sure it was something I was doing wrong, but 88 worked for me. The yarn is so bulky it was hard to get used to at first, but in time in was easier and I enjoyed using it. Since I tend to make my stitches tight, I had to be careful to relax while I worked. (Maybe deep breathing and listening to soothing music would have helped.)
The blanket turned out soft and cuddly and the end result was exactly what I wanted.

Sunday, January 15, 2017

Quick and Easy Baby Blanket

Can a baby have too many comfy blankets? I think not! If you want a handmade gift but don't have hours to devote to it, this is the project for you! 


I found the tutorial I've used over and over again here:

https://extension.usu.edu/files/publications/publication/FL_ST_Construction_2007-401pr.pdf

However, there are more tutorials and videos on the internet than you can shake a stick at. If you search for mitered corner blanket, you will find more than you will ever need. If a video works best for you, this is a good one:

https://www.youtube.com/watch?v=Psq5x8EqbtI

Be advised that she keeps referring to this blanket as a 10 minute project. She must be super speedy, because I've made several and it still takes me longer than that. I'd say from start to finish, this can be completed in under an hour, especially after you've made a few. 

Take it from me, even if the tutorial you use doesn't mention it, always, always, always wash and dry both fabrics. (Did I forget to mention always?) Since the flannels will shrink at different rates, you'll be glad you did when your blanket still lays flat after it's laundered. 

For best results, be careful to measure your squares exactly and also find the exact center of your fabric after the squares are cut. From there, it's straight stitching all the way! 


I used some blue flannel polka dot left over from another project (because I'm a sucker for polka dots), along with a cute animal print I found at a local shop and voilĂ . Quick and easy! With all the cute fabrics out there, the possibilities are endless. 

P.S. I skip the final step of the USU tutorial and do not stitch a square in the center of the blanket because I don't like the way it looks. 


Thursday, December 1, 2016

Have a Ball!

If you're looking for a quick and easy project for all those small scraps you have lying about and making you feel guilty, you've come to the right place! 

When I decided to make these stuffed cuties for my grandsons, I found a lot of different tutorials on the internet. Some of them were beautifully hand sewn. I settled on this free tutorial because she gives instructions for machine sewing, which seemed a lot faster to me.

http://andothersillythings.blogspot.com/2011/05/pentagon-colorful-fabric-balls-tutorial.html


I used several different printed cottons and also added some soft minky fabric and corduroy for texture. I stuffed the balls with Morning Glory Cluster Stuff. 

As an added bonus, there's a rattle inside. I didn't plan very far ahead, so I found some inexpensive toys from Walmart, cut off their heads, removed the rattles and put them in the balls. (Sorry if that's too graphic:) Since you're probably more organized than I am, you would order them on the internet. I wasn't able to find the rattles at any of the craft stores in my area. 

The hexagon size can be increased or decreased to make a bigger or smaller ball. The piece I used measured 4" across at its widest and the finished ball is just the right size for chubby baby hands.

I also made another, pinker version. I hope you have a ball making them like I did!