Monday, January 23, 2017

Fun, Flouncy Apron

There are so many cute apron patterns out there, but this is one of my personal favorites. I've made it several times because it makes a darling shower or birthday gift for a friend.

https://kwiksew.mccall.com/k3787

It's quick and easy to sew. The pattern also includes children's and 18" doll sizing. I don't really have any tips or tricks because the instructions are simple to follow. And just like it's almost impossible to stop after eating one chocolate chip cookie, once you've made this apron, you'll want to make more! 


P.S. You've probably noticed that Kwik Sew patterns are expensive at the fabric stores and some don't always carry the full line. However, they are often on sale on the Kwik Sew website, which makes them pretty affordable. 

My sincere apologies for the blurry picture. I'm way better at sewing than photography!

Sunday, January 15, 2017

Quick and Easy Baby Blanket

Can a baby have too many comfy blankets? I think not! If you want a handmade gift but don't have hours to devote to it, this is the project for you! 


I found the tutorial I've used over and over again here:

https://extension.usu.edu/files/publications/publication/FL_ST_Construction_2007-401pr.pdf

However, there are more tutorials and videos on the internet than you can shake a stick at. If you search for mitered corner blanket, you will find more than you will ever need. If a video works best for you, this is a good one:

https://www.youtube.com/watch?v=Psq5x8EqbtI

Be advised that she keeps referring to this blanket as a 10 minute project. She must be super speedy, because I've made several and it still takes me longer than that. I'd say from start to finish, this can be completed in under an hour, especially after you've made a few. 

Take it from me, even if the tutorial you use doesn't mention it, always, always, always wash and dry both fabrics. (Did I forget to mention always?) Since the flannels will shrink at different rates, you'll be glad you did when your blanket still lays flat after it's laundered. 

For best results, be careful to measure your squares exactly and also find the exact center of your fabric after the squares are cut. From there, it's straight stitching all the way! 


I used some blue flannel polka dot left over from another project (because I'm a sucker for polka dots), along with a cute animal print I found at a local shop and voilĂ . Quick and easy! With all the cute fabrics out there, the possibilities are endless. 

P.S. I skip the final step of the USU tutorial and do not stitch a square in the center of the blanket because I don't like the way it looks. 


Friday, January 6, 2017

Girly Gathers and Ruffles Dress

I was looking for something to make for a baby shower gift and I found this darling dress pattern by Kwik Sew. 

https://kwiksew.mccall.com/k0198

The fabric was adorable in the sample on the pattern envelope and I really wanted a similar floral, but when I couldn't find one I liked, I went with a multi-colored dot I thought was fun! The yoke and panties have a coordinating gold dot.  


The pattern was easy. There were a lot of extra helpful tips along the way. I must admit that I struggled turning under the casing on the panties as instructed in the pattern. Though I tried and tried, I simply couldn't ease the edge enough without ending up with huge tucks. To resolve the problem, I took a smaller seam at the leg edges and tapered it into the seam. That did the trick. I added two cute buttons and a bow to the neck edge.

I made the dress for a friend who is having a girl after having five boys. I hope it's just right for her new pink bundle of joy!

Wednesday, December 28, 2016

Pajama Time

With little ones, isn't the best part of the day bath time and getting them ready for bed in a snuggly pair of pajamas? Since my children are grown, it would be weird if I did that now, but I still love a nice pair of warm pajamas. For Christmas, I used this pattern to make pajamas for my sweet granddaughters:

See pattern here

I thought the design was darling! As a bonus, it came with a pattern for the American Girl doll size. 


In my experience, pattern company sizes for children run a bit large compared to store sizes, so it's best to go by measurements when selecting a pattern size. My granddaughter is seven, but I made a size six and added some length. The pattern called for packaged bias tape to finish the edges, but I made a bias tape with a nifty bias tape maker instead. It's softer than bias tape trim and it also complimented the cuffs at the wrist and ankle. I skipped the interfacing in the cuffs. I actually tried it first as suggested in the pattern, but even a light interfacing made them too stiff for my liking. The flannel I used for the trim was heavy enough to hold its shape without the interfacing. I also reinforced the snap closures with some interfacing on the wrong side of the fabric in the snap areas.

The pattern also has a pair of pajamas that would be perfect for summer. I love how they turned out so much, I might just make another pair or two or three!

Monday, December 19, 2016

Have a Holly Jolly Christmas!

It's getting a little late to deck the halls since Christmas is just around the corner, but this year I needed some cute stockings to tuck some treats in for holiday gift-giving. I loved this little gem by mmmcrafts the minute I saw it. I needed a dozen or so and thought it wouldn't be too difficult to make.  

See pattern here

The ivy leaves are traced onto felt and cut by hand, which I did while watching "Murder She Wrote" reruns:) The most time consuming part of the project was hand-sewing the sequins. That process took about 15-20 minutes per stocking. 

I just finished making a bunch. I used wool felt like the designer recommended. I rounded the toe out to give it more fullness and I reduced the pattern to 72% since I didn't need a full-sized stocking. I also added some lace around the top to make it a little more elegant and bound it with taffeta I had left over from another project. I love the way the sequins make this project sparkle. I can't wait to fill them and give them away! 


Saturday, December 10, 2016

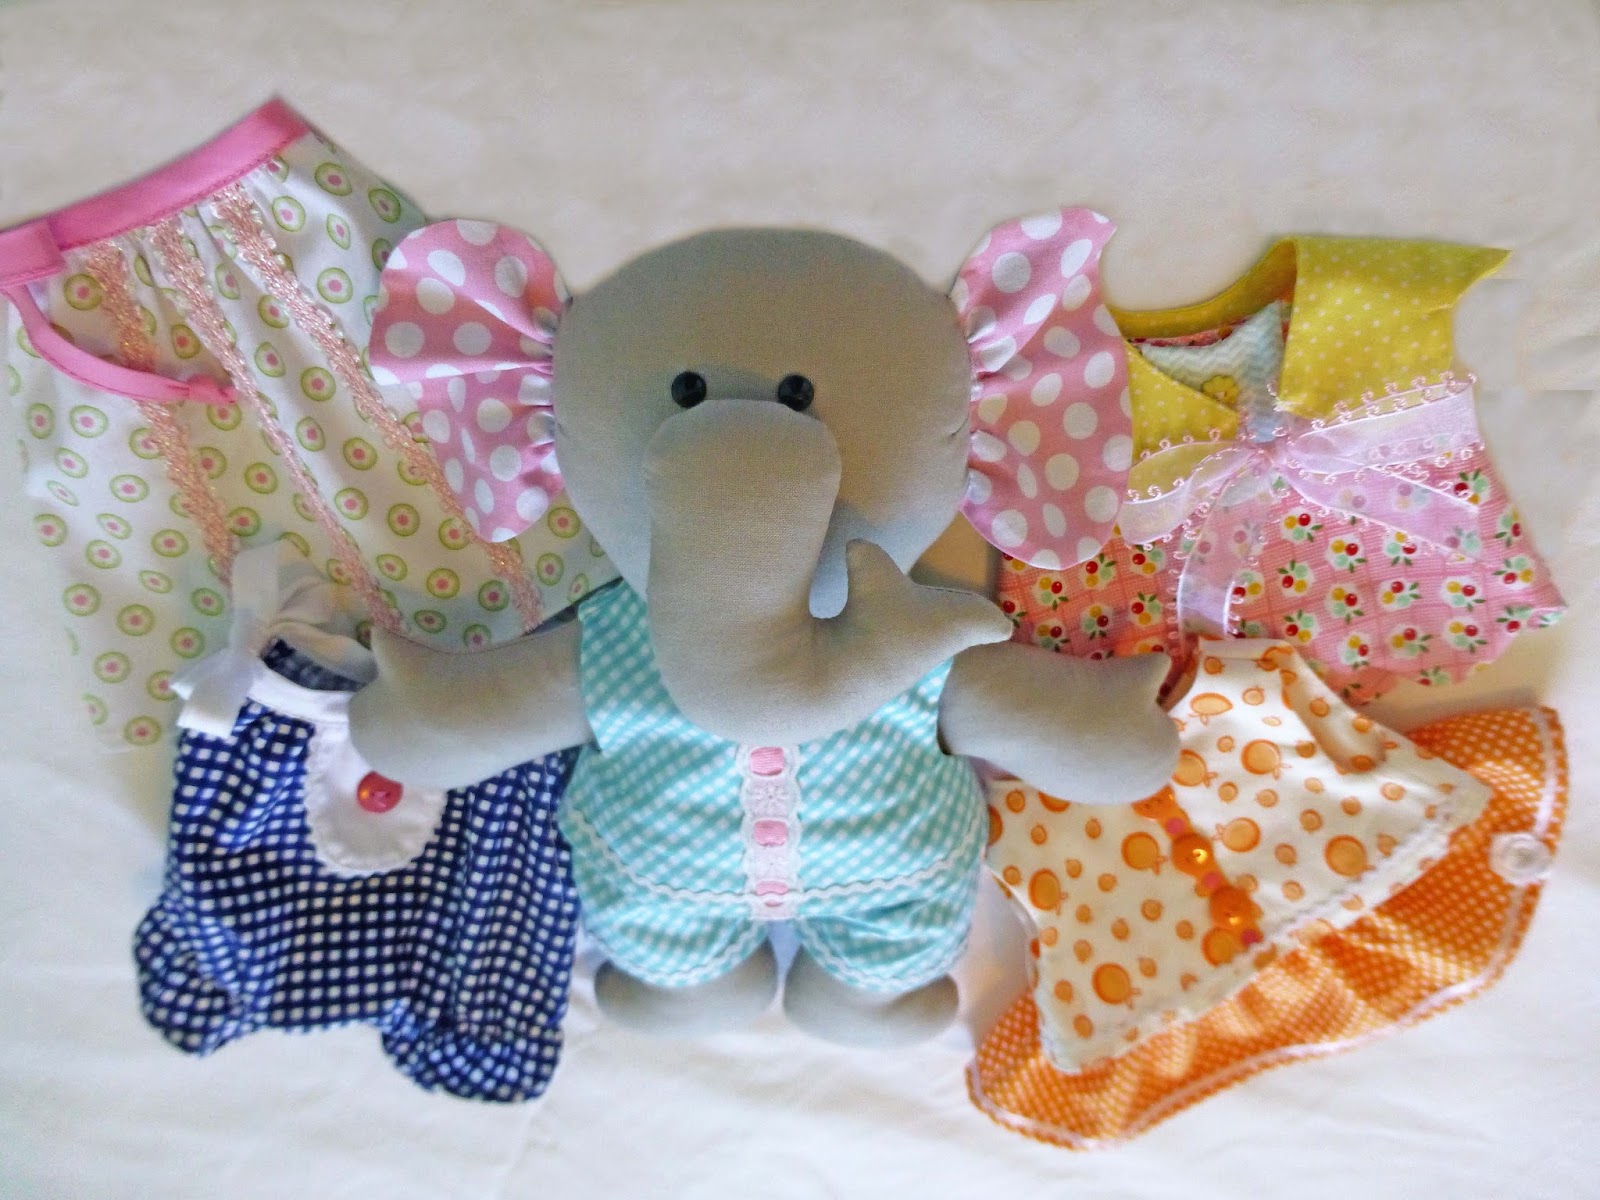
Stuffed Elephant, Trunk Included


Why do elephants have trunks? Because they’d look silly with glove compartments. 

This super-cute stuffed elephant pattern comes with it's own trunk to store all the darling clothes that go with it. 


I'm not going to lie, this project took a lot of time. The instructions were good though and it's doable, it just requires patience, (which I am lacking a little when it comes to sewing and life). It's all basic sewing, there are just a lot of steps, especially for the suitcase part. The clothes were a breeze and construction was easy. 


Fusible interfacing and I don't always get along. (It has something to do with that patience thing.) It's necessary for this project to ensure the sturdiness of the case. The pattern calls for Pellon Peltex 71, which is ironed on the two main case pieces where the dresser and bed are attached. It's a very stiff craft interfacing. 

Pellon Peltex Link

I've never used the product before, but it worked well. The bands around the case require a different fusible interfacing. Make sure to follow the manufacturer's instructions to get a good bond. 

I made a few simple adjustments to the pattern. I changed the foot shape of the dresser. I also used a different method for the lamp, lamp shade and window because I didn't like how the case fabric showed through the prints with the applique method specified in the pattern instructions. I traced the pattern piece on a double layer of fabric, right sides together. I sewed on that line, leaving an opening, clipped and trimmed the seams then turned them right side out. After pressing, I stitched using a straight stitch at the pattern placement line.

And here's a little warning because I don't want you to do what I did. The side bands around the case require almost every bit of forty-five inches. I used a quilting cotton, but pre-washed my fabric. It shrunk just enough that I had to piece the side bands. It still worked out, but be aware that you will need the full width of the fabric for these band pieces.

Now, just one more joke since this elephant has such a stylish wardrobe. What do you call an elephant wearing pink earmuffs and a dress? Anything you want. She can’t hear you.

Thursday, December 1, 2016

Have a Ball!

If you're looking for a quick and easy project for all those small scraps you have lying about and making you feel guilty, you've come to the right place! 

When I decided to make these stuffed cuties for my grandsons, I found a lot of different tutorials on the internet. Some of them were beautifully hand sewn. I settled on this free tutorial because she gives instructions for machine sewing, which seemed a lot faster to me.

http://andothersillythings.blogspot.com/2011/05/pentagon-colorful-fabric-balls-tutorial.html


I used several different printed cottons and also added some soft minky fabric and corduroy for texture. I stuffed the balls with Morning Glory Cluster Stuff. 

As an added bonus, there's a rattle inside. I didn't plan very far ahead, so I found some inexpensive toys from Walmart, cut off their heads, removed the rattles and put them in the balls. (Sorry if that's too graphic:) Since you're probably more organized than I am, you would order them on the internet. I wasn't able to find the rattles at any of the craft stores in my area. 

The hexagon size can be increased or decreased to make a bigger or smaller ball. The piece I used measured 4" across at its widest and the finished ball is just the right size for chubby baby hands.

I also made another, pinker version. I hope you have a ball making them like I did!